When sending us artwork for print, it’s necessary to add bleed to your image. For those who are not familiar, bleed is the area that goes past the template or trim lines. Failure to include bleed in your artwork may result in the possibility of small, unprinted edges appearing if there is any shift or movement in the printing press during the printing process. Yup, this is true even with massive professional printers that are big enough to take up a whole room. The fix is to add a bit of artwork beyond the template or trim lines, that way if there is a slight movement it will be imperceptible in the final printed image.
Some templates may already have bleed or “cut” lines! If so, you can simply fill the image up to the bleed lines.
How much artwork bleed should I add?
All you need to do is add about 0.125″ or 3.5mm of bleed to your artwork. If your artwork background is white or transparent, you don’t need to worry about bleed.
What’s the difference between bleed and the type safety area?
While the bleed is to supposed to extend beyond the trim or template lines, a title safe area is a way of ensuring your text won’t be cut off when printing. What’s the fix? Don’t place text or logos right up to the edge of the image. Make sure text is a minimum of 0.125″ away from the template/trim lines.
Show me an example of bleed.
Okay, so let’s start with an example of the wrong way to submit artwork:
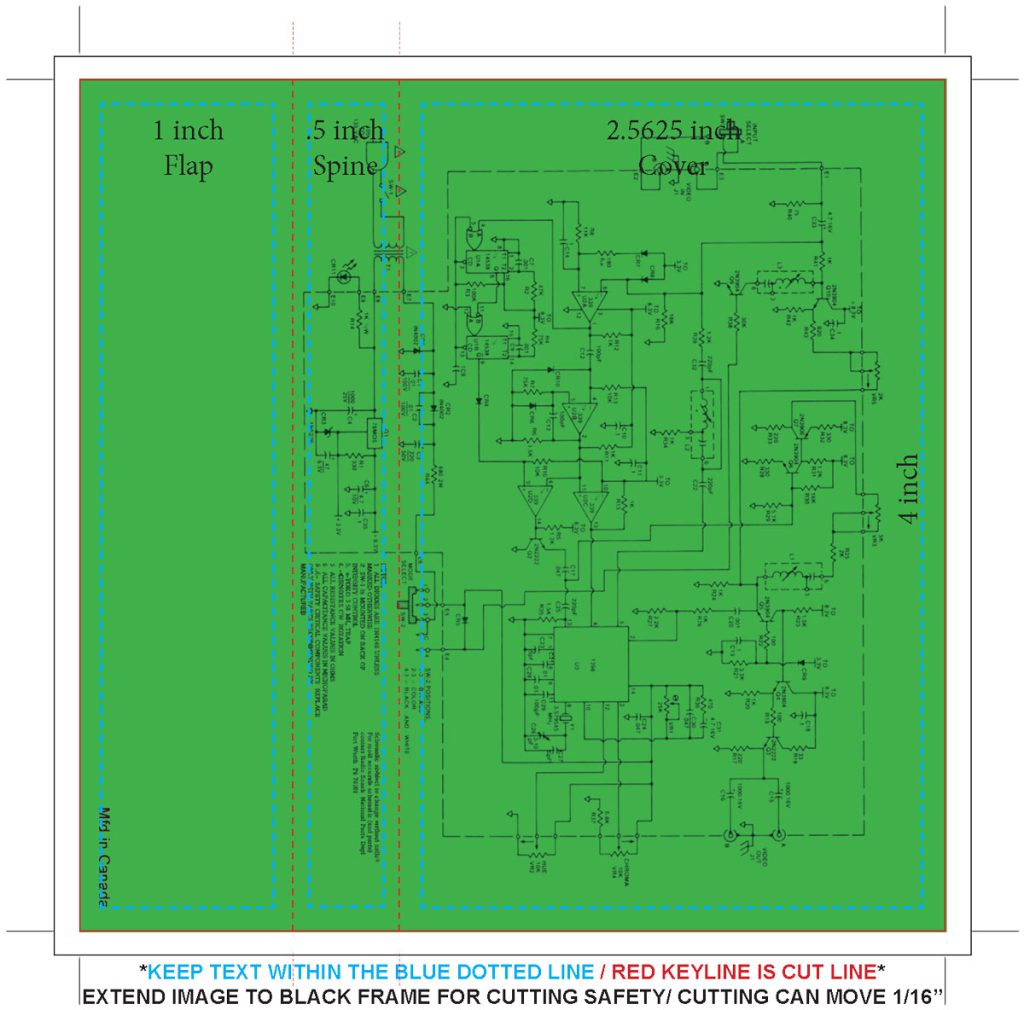
This J-card template has the image correctly placed in the title safe area, but you can see the green background doesn’t extend past the trim line. The J-card template includes an additional black box for bleed, but since the designer left it empty there’s a risk of white edges when printed and trimmed.
Here’s the correct way to submit artwork:
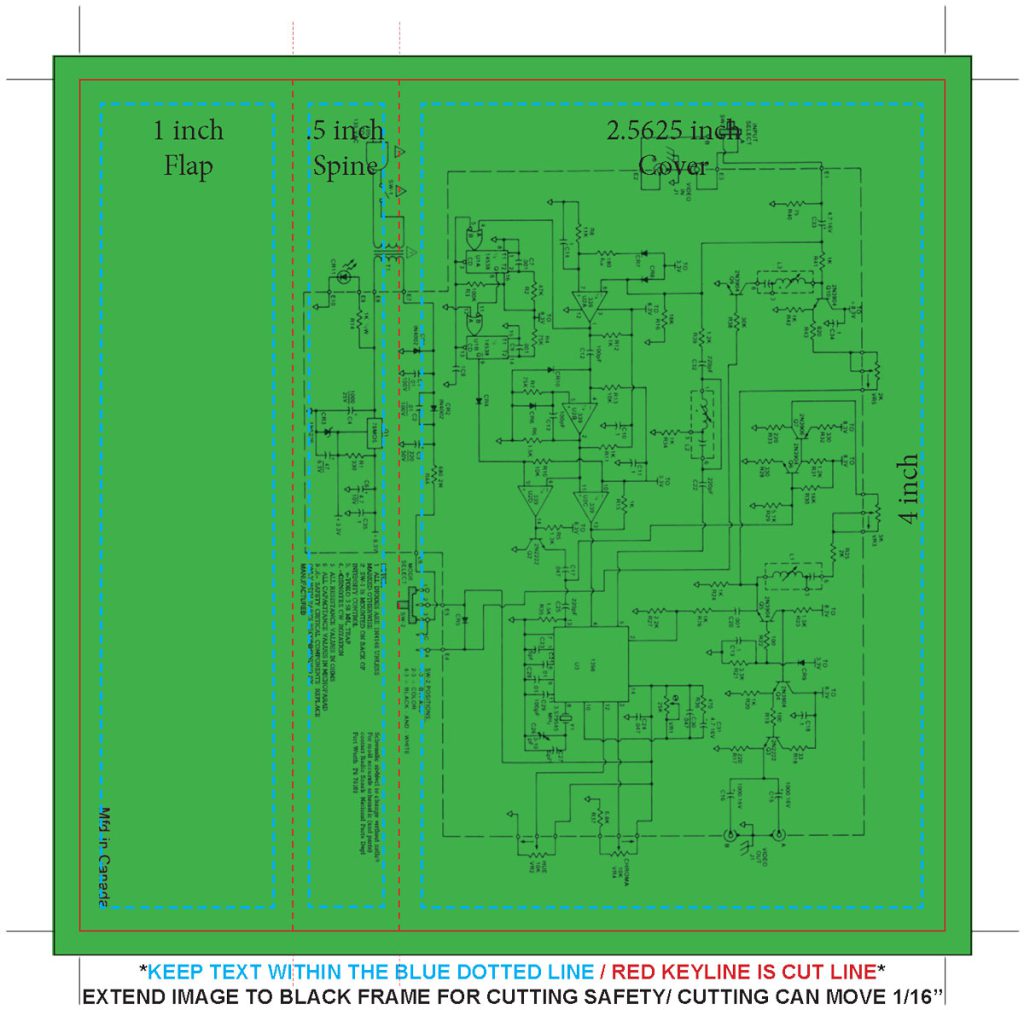
See how the artwork is extended ~3.3mm beyond the trim box? Now we know for certain that there won’t be white edges after trimming.
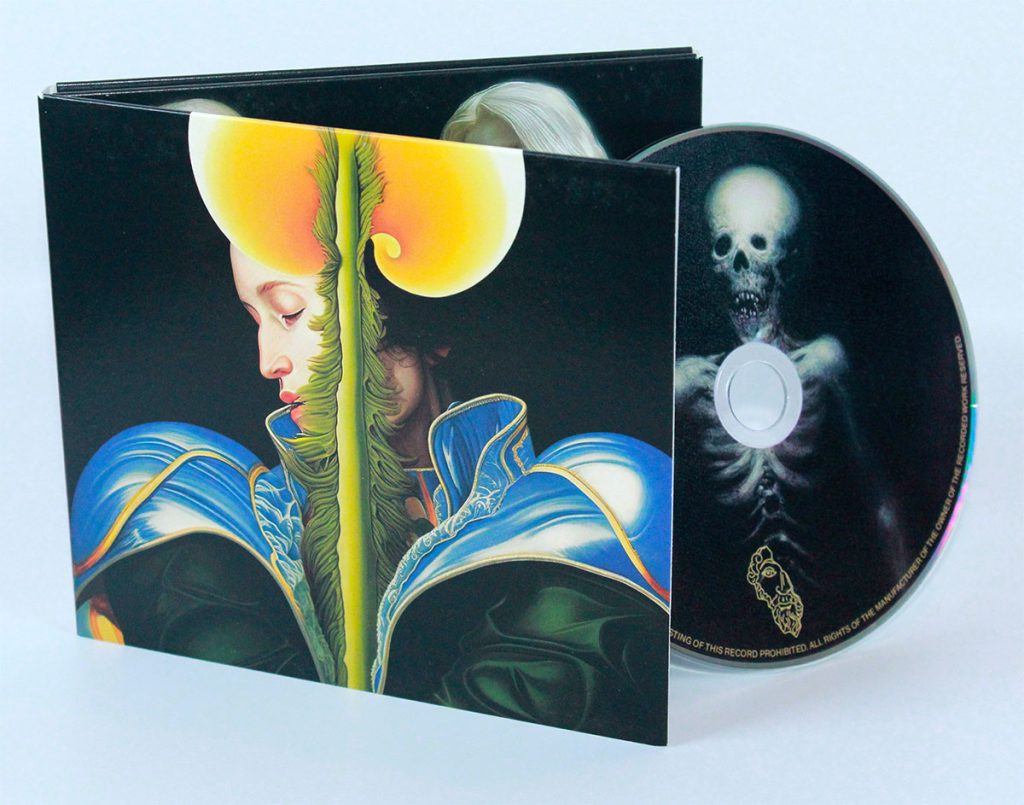
Hope this helps! Please let us know if you have any questions regarding printing. We have tons of printed products for cassette, CD, vinyl, and more available in our online store. Don’t leave the printing to the amateurs— we know printing presses inside out, and how to make your album look their absolute best!


